Creating a Group
Tidy up your device list
A group is just a tidy way to see the devices you want, all in one place. It's handy when your list looks cluttered — say you've got an 8-channel recorder but only four cameras plugged in. The empty channels show as offline devices you don't need to see. A group lets you hide those and arrange the rest exactly how you like, so the app looks clean.
- 1
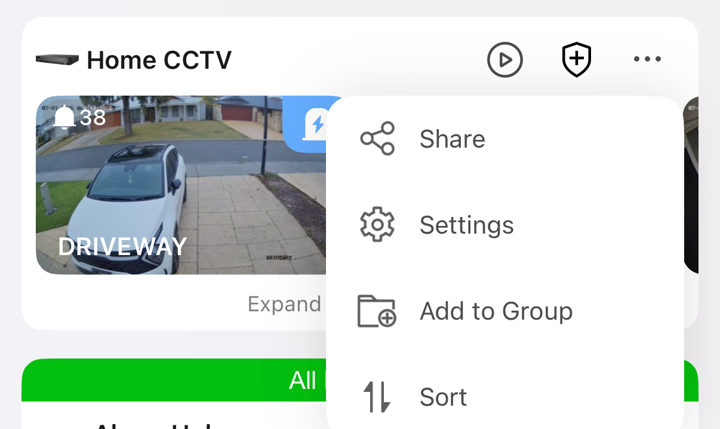
Open the menu and choose Add to Group
Tap the three dots in the top-right corner, then tap Add to Group.
- 2
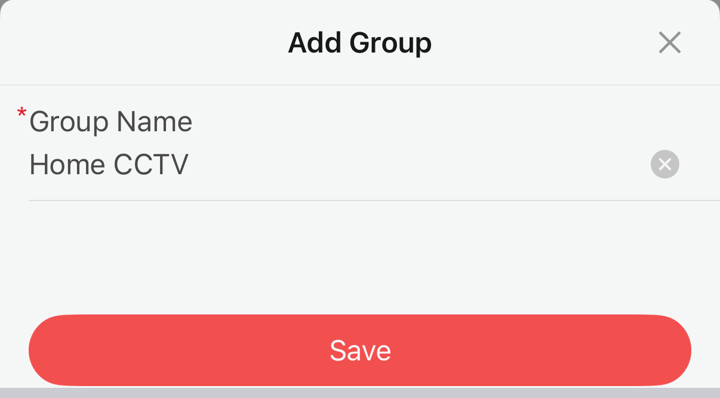
Name your group
Give the group a name (for example, Home CCTV), then tap Save.
- 3
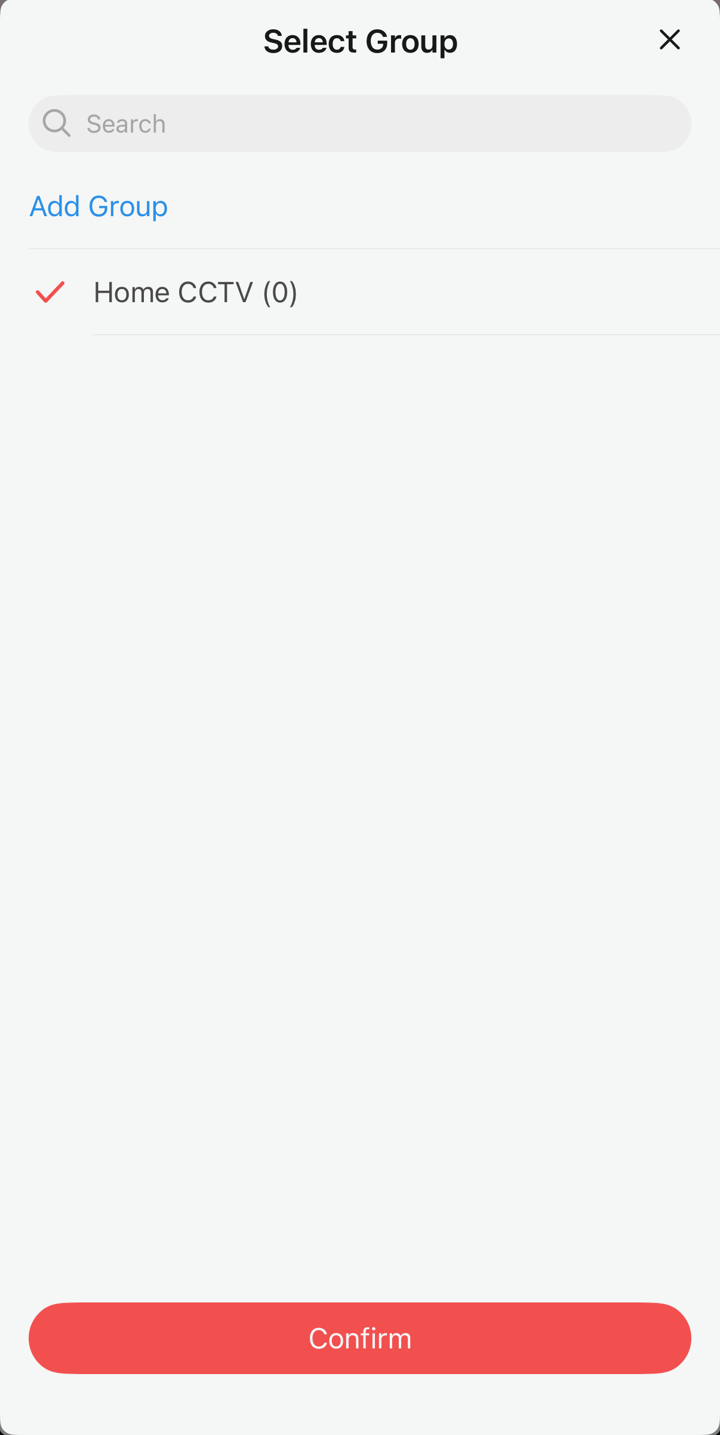
Confirm
You'll see the group has been created. Tap Confirm.
- 4
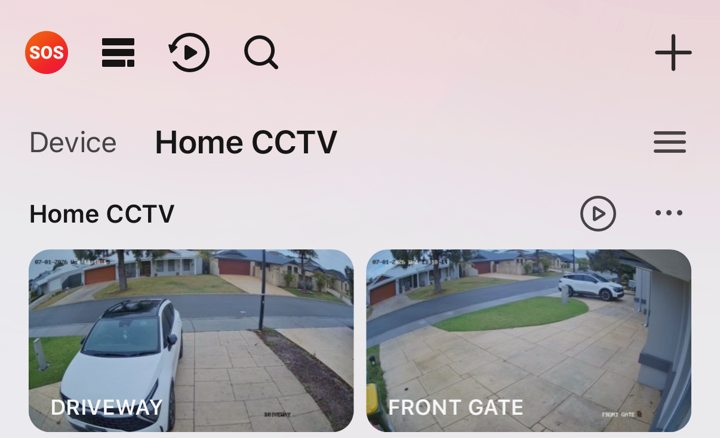
Your new tab appears
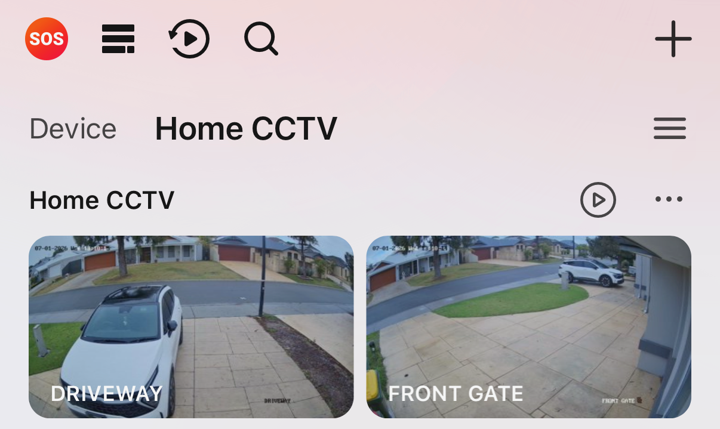
At the top you'll now see a new tab next to Device — your group. Tap across to it any time to see just those devices.
- 5
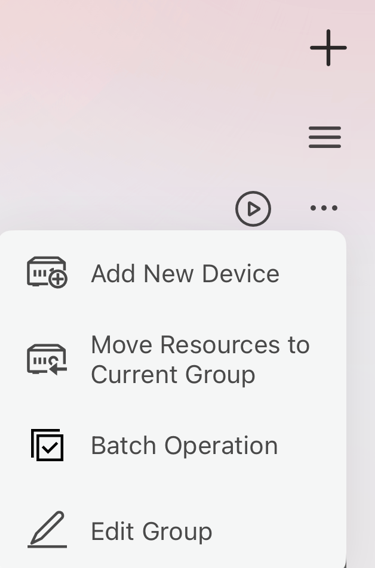
Edit the group
Open the group, tap its three dots, and choose Edit Group.
- 6
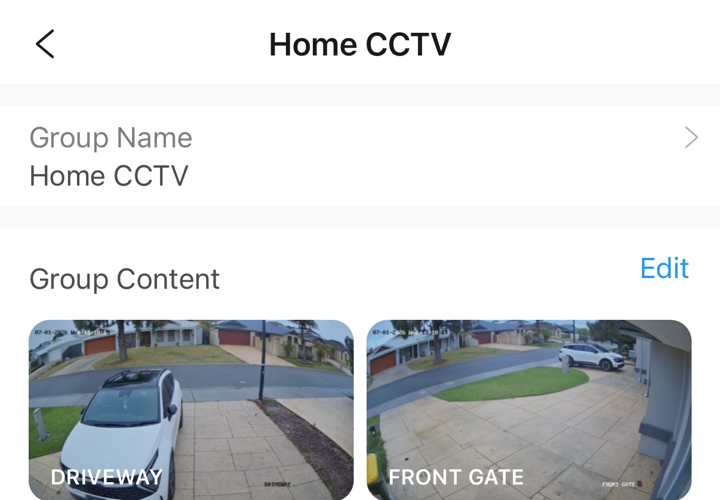
Change the name or the contents
Here you can rename the group, or tap Edit on the group content to change which devices are in it.
- 7
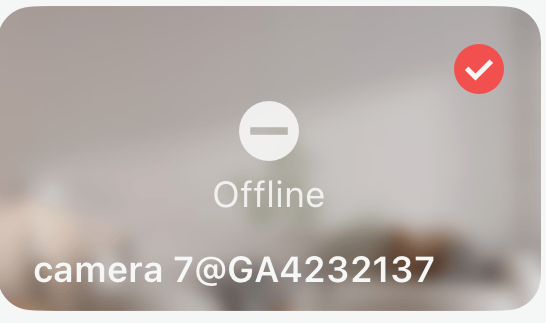
Select the devices you don't want
Tap any device you want to take out — usually the offline or empty channels. A tick appears in its corner. Select as many as you like.
- 8
Remove from group
Tap Remove from Group, and those devices drop out of the group view.

- 9
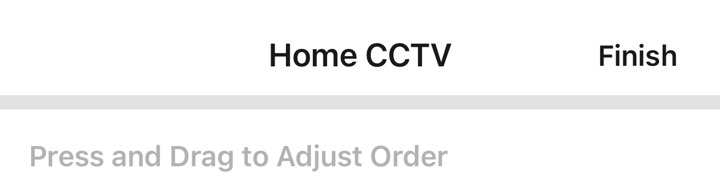
Reorder, then finish
Press and drag any device to move it, so they sit in the order you like. When you're happy, tap Finish in the top-right.
- 10
Done — a clean group
You're left with a tidy group showing only the devices you want, in your order.
One thing a group can't do
You can't arm your system from inside a group. To arm or disarm, tap back to the Device tab first and do it from there. For cameras, see arming & disarming your CCTV.
Nice and tidy.
You can make as many groups as you like and rearrange them whenever you want — it only changes how things look in the app, not how your system runs.
Want a hand setting it up?
Give us a call or send an email and we'll walk you through it.